
For the past couple weeks I’ve been playing around with combining early mountain bike rides and making coffee.
I first saw the combination through The Path Less Pedaled‘s Instagram feed. A group of cyclists in Portland (of course) would get up early and make coffee as the sun rose.
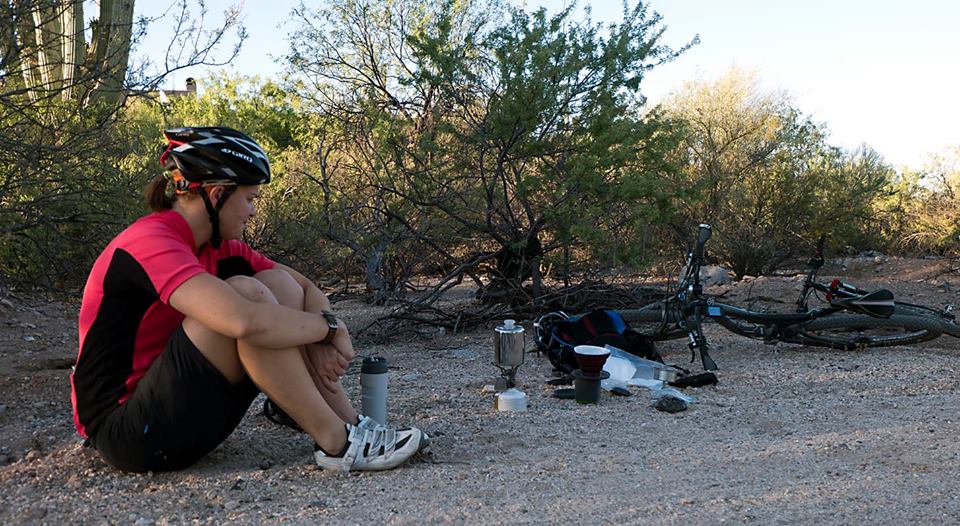
It seemed like a fun idea, so as the weather turned hot and the rides got early, I thought I would give making trail-side coffee a shot.
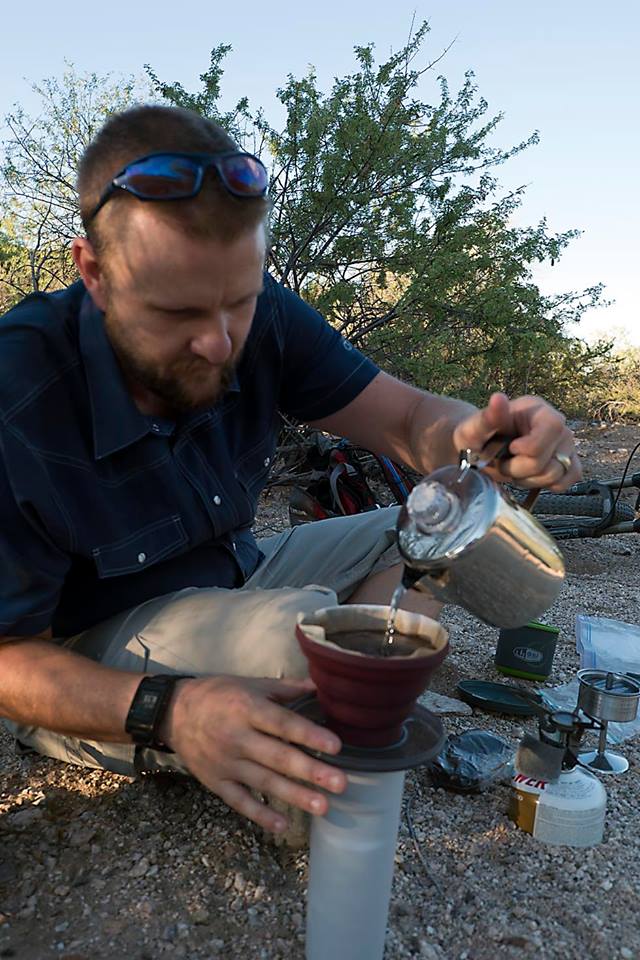
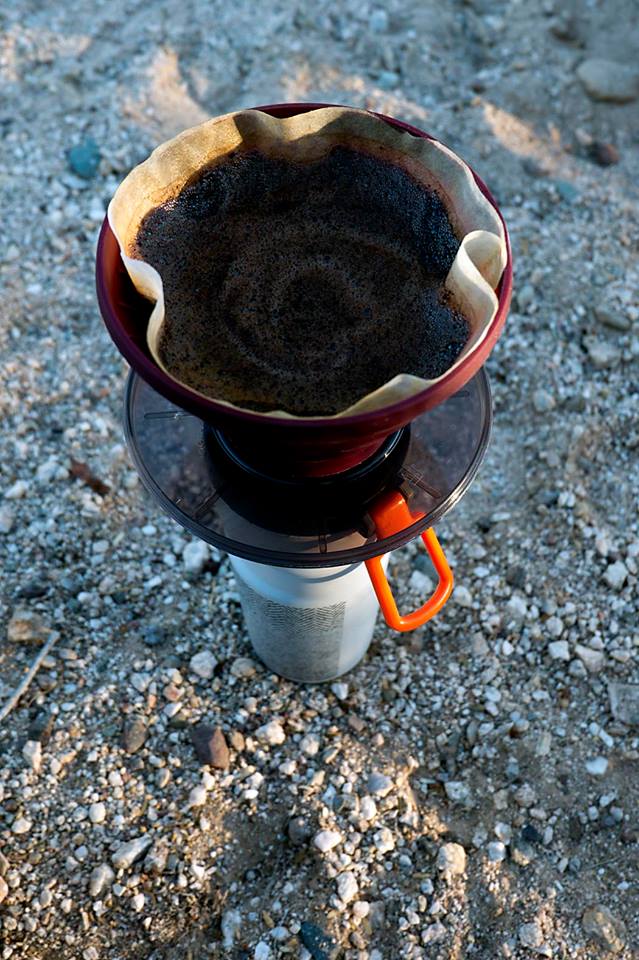
Turns out it’s really a lot of fun. I’ve been bringing a GSI collapsible pour over coffee cone, a Primus backpacking stove and it’s fuel, a kettle and a mug.
It doesn’t add much to the weight of the pack and makes for a very nice mid-ride break.

Seems like a lot of supplies to carry. try using one of these stovetop espresso makers. They come in single serve to muti-brew sizes. You can preload the grounds before the ride, add water and heat when its brew time, and in no time you’ll have new friends along the trail as the smell of fresh brewed espresso….need I say more?
More purista would roast green beans and freshly grind…..Years back I bought a nifty GSI single shot espresso pot from REI alum with brass steam pipe. At near 8oz wt. didn’t make any backpack trips, but it’s not too heavy for cycling.
As with most everything bikey or hikey, the process is at least half the fun. One can only hope Starbucks marketing execs don’t read Tucson Velo …
[…] Photos: Coffee by bike […]
Nah. too much faff. Well brewed cowboy coffee is the way, which needs good timing to let the grounds settle, sink, not get over brewed and turn bitter. Get the timing right and pour with care to leave the grounds in the bottom of the billy or pan and It’s just the same as a caffetiere without the push down filter to hold the grounds, but you aren’t carrying an extra bit of kit and utilising your own dexterity..
If you want to save weight even further ditch the gas stove and try making a simple cat or tuna can stove simply made with a hole punch in about 10 minutes at themost. Fuel it with a small bottle of denatured alcohol by pouring about 10ml ( a dessert spoon) into it and light it. When the alcohol starts to boil, place your your *billy/mess tin/pan on the top and the flames that were in the centre will transfer to the holes you’ve punched out in the catfood or tuna can, and then it acts lke a conventional gas jet hob. The weight you’ll save will easily allow you to take a sit mat which is a lot more comfortable than having a wet arse or a gravel dented one as is highly likely from the photo. ;0)
*http://skunkapeblog.com/wp/wp-content/uploads/SuperCatStove_2.jpg
[…] #coffeeoutside movement is taking place all over the country and social media — we even wrote about our own trail-side coffee last week — now a local shop is getting in on the action by hosting a #coffeeoutside […]